Adding Caido's CA Certificate to the System Partition: Virtual Device
TIP
For convenience, consider adding all installed tools/tool packages to your system PATH environment variable to avoid navigation/the need to use absolute paths in commands.
In this tutorial, we will cover the process of adding Caido's CA certificate to the system-store of a virtual Android device.
Renaming Caido's CA Certificate
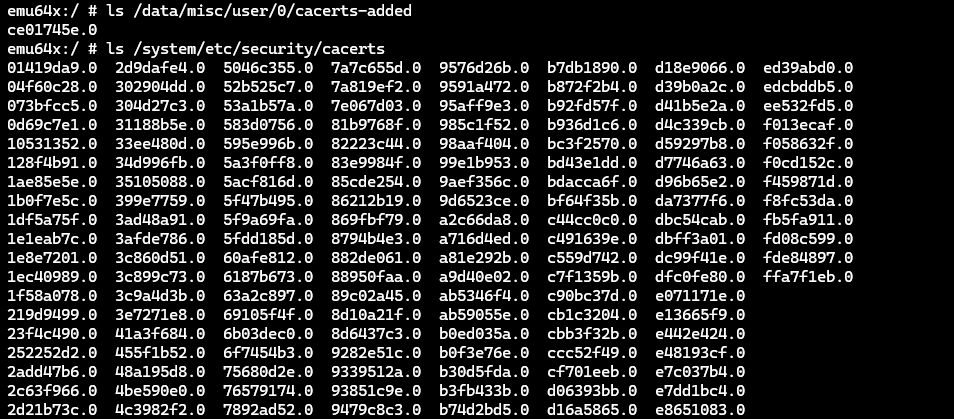
In order for Caido's CA certificate to be compatible with the Android system, it will need to meet the expected naming format. The format is the legacy hash of a CA certificate's subject field with a .0 extension.
To generate the correct certificate file name:
Navigate to
http://127.0.0.1:8080/ca.crtin a browser on your computer to download Caido's CA certificate.Open a terminal and navigate to the file system location of the certificate and enter the following command:
openssl x509 -inform PEM -subject_hash_old -in ca.crt- Rename the certificate to the returned hash (located between the command and
-----BEGIN CERTIFICATE-----) with a.0extension.
Adding the Certificate
NOTE
This method will only work for virtual devices with an Android API level <= 33.
To add the certificate to the system level certificate storage of the device:
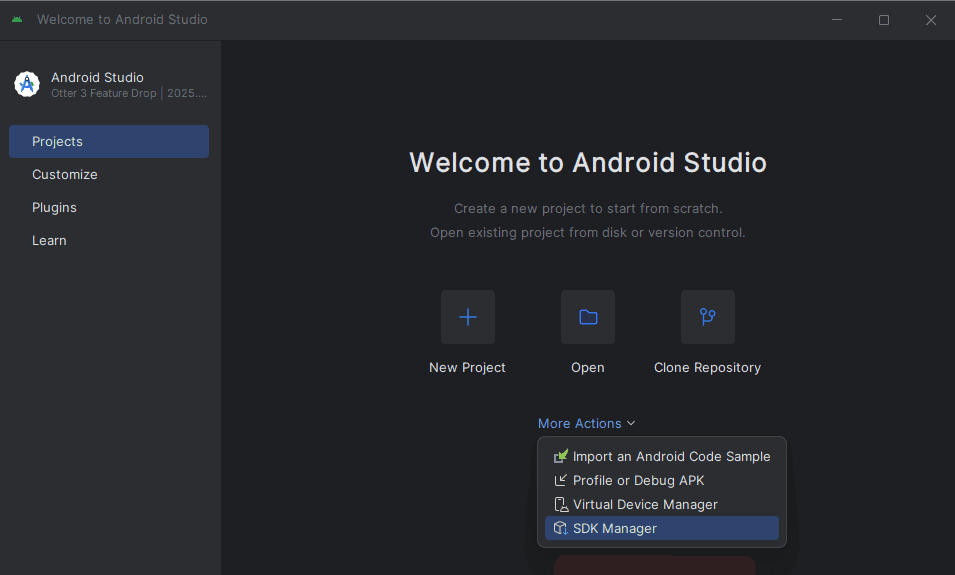
- In the Projects interface of the Android Studio window, click on the
More Actionsbutton and selectSDK Manager.
Select
Android SDKfrom the Languages & Frameworks drop-down menu.Open a terminal and navigate the the file system location stated in the
Android SDK Locationfield.

Navigate into the
emulatordirectory.Execute the emulator tool with
-list-avdsto ensure the device is listed.
./emulator -list-avds- Execute the emulator tool with the name of your device as the value of the
-avdargument andwriteable-system(if your device is currently running, terminate it first by clicking thebutton of its associated row in the Device Manager window).
./emulator -avd <device-name> -writable-systemOpen a new terminal and and navigate the the file system location stated in the
Android SDK Locationfield.Navigate into the
platform-toolsdirectory.Execute the
adbtool withdevicesto ensure the device is listed.
./adb devices
- Execute the
adbtool with the device ID as the value of the-sargument androotto gain root privileges.
./adb -s <device-id> root
- Execute the
adbtool against the device withshell avbctl disable-verificationto disable secure boot verification.
./adb -s <device-id> shell avbctl disable-verification
- Execute the
adbtool against the device withrebootto reboot the device.
./adb -s <device-id> reboot- Once the device has rebooted, gain root privileges again.
./adb -s <device-id> root- Execute the
adbtool against the device withremountto modify the partition permissions as read/write.
./adb -s <device-id> remount
- Execute the
adbtool against the device with the file system location of the renamed certificate as the value of thepushargument to move it into the System partition.
./adb push </path/to/certificate/hash.0> /system/etc/security/cacerts
- Execute the
adbtool withshell chmod 664 -vto set the proper permissions on the certificate by specifying its file system location on the device.
./adb -s <device-id> shell chmod 664 -v /system/etc/security/cacerts/<hash.0>
- Reboot the device again for the changes to take effect.
./adb -s <device-id> reboot- Execute the
adbtool against the device withreverse tcp:8080 tcp:8080to forward traffic to Caido.
./adb -s <device-id> reverse tcp:8080 tcp:8080TIP
To verify the addition of the certificate:
On the device, navigate to the Settings interface.
In the
Search settingsinput field, search for and selectTrusted credentials.Click on
Trusted credentialsand locateCaidoin the System tab certificate list.
Once the certificate has been installed, interacting with certain applications on the device will add rows to the HTTP History traffic table in Caido.
NOTE
If traffic is not appearing in the HTTP History table in Caido, try:
Disabling
Mobile datausage.Disabling any VPN connections.
Setting the Wi-Fi Proxy hostname to
10.0.2.2.
If application traffic is still not proxied through Caido or you are encountering errors/limitations in functionality, continue with the Modifying an Android Application tutorial.