Setup & Configuration: Virtual Device
To proceed with the tutorials for a virtual device, you will need to download/install Android Studio.
Android Studio
Android Studio is the official IDE for developing Android applications. It provides tools for building, testing, and debugging apps, and for managing virtual and physical devices. The Standard installation includes the Android SDK (Software Development Kit), which is the set of libraries, APIs, build tools, and emulator components needed to develop and run Android software.
NOTE
This tutorial was written using:
- Android Studio Otter 3 Feature Drop | 2025.2.3 RC 3 January 8, 2026. To download this release visit: https://developer.android.com/studio/archive
We recommend using the same version to ensure the instructions align.
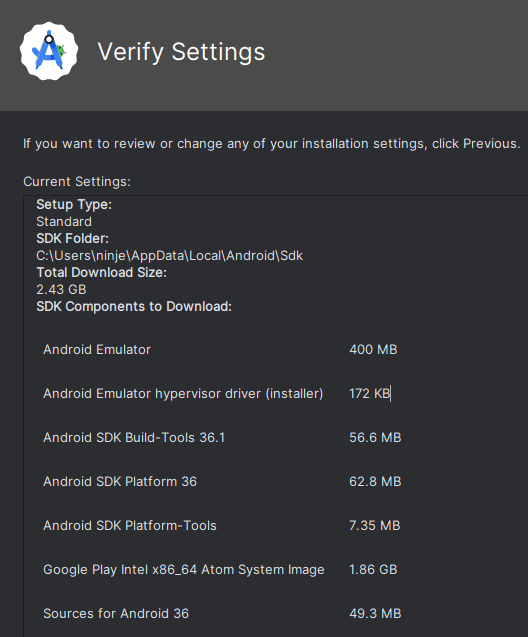
Once Android Studio Otter 3 Feature Drop | 2025.2.3 RC 3 January 8, 2026 has been downloaded for your operating system, launch the installation wizard and select the Standard installation type.
Creating an Android Virtual Device
NOTE
The virtual devices tutorials were written using:
- API 30 "R"; Android 11.0
- Google APIs Intel x86 Atom System Image
We recommend using the same API and system image to familiarize yourself with the configuration process before selecting your own options.
Once Android Studio is installed and launched, to create a virtual device:
Click on the
More Actionsbutton and selectVirtual Device Manager.Click on the
+ Create Virtual Devicebutton.Click on the
New hardware profile...button.Name the device in the Device Name input field and continue with the default configuration settings by clicking on the
Finishbutton.Select the device from the table and click on the
Nextbutton.In the
APIdrop-down menu, selectAPI 30 "R"; Android 11.0.In the
System Imagetable selectGoogle APIs Intel x86 Atom System Image.Click on the
Finishbutton and then theYesbutton in the Confirm Download window.
NOTE
System images that include Google Play in their build are signed with a release key and don't allow root access. In order to capture HTTPS traffic generated by an application with Caido, avoid selecting any Google Play builds when creating an AVD.
Additionally, avoid selecting any ATD builds as they do not include a user interface for the device.
Instead, use images listed as:
- Google APIs
- Android Open Source Project (AOSP)
- Default Android System Image
- Base versions (Android x.x.x ())
- Once the package is installed, click on the
Finishbutton.